
Salted Caramel Ice Cream
There are few things in life more satisfying than a scoop of deeply golden, perfectly salty-sweet salted caramel ice cream and even fewer things more humbling than watching your first attempt turn into a scorched, seized rock that threatens to take your pot with it. Making caramel from scratch sounds intimidating, and honestly, the first time it probably will be.
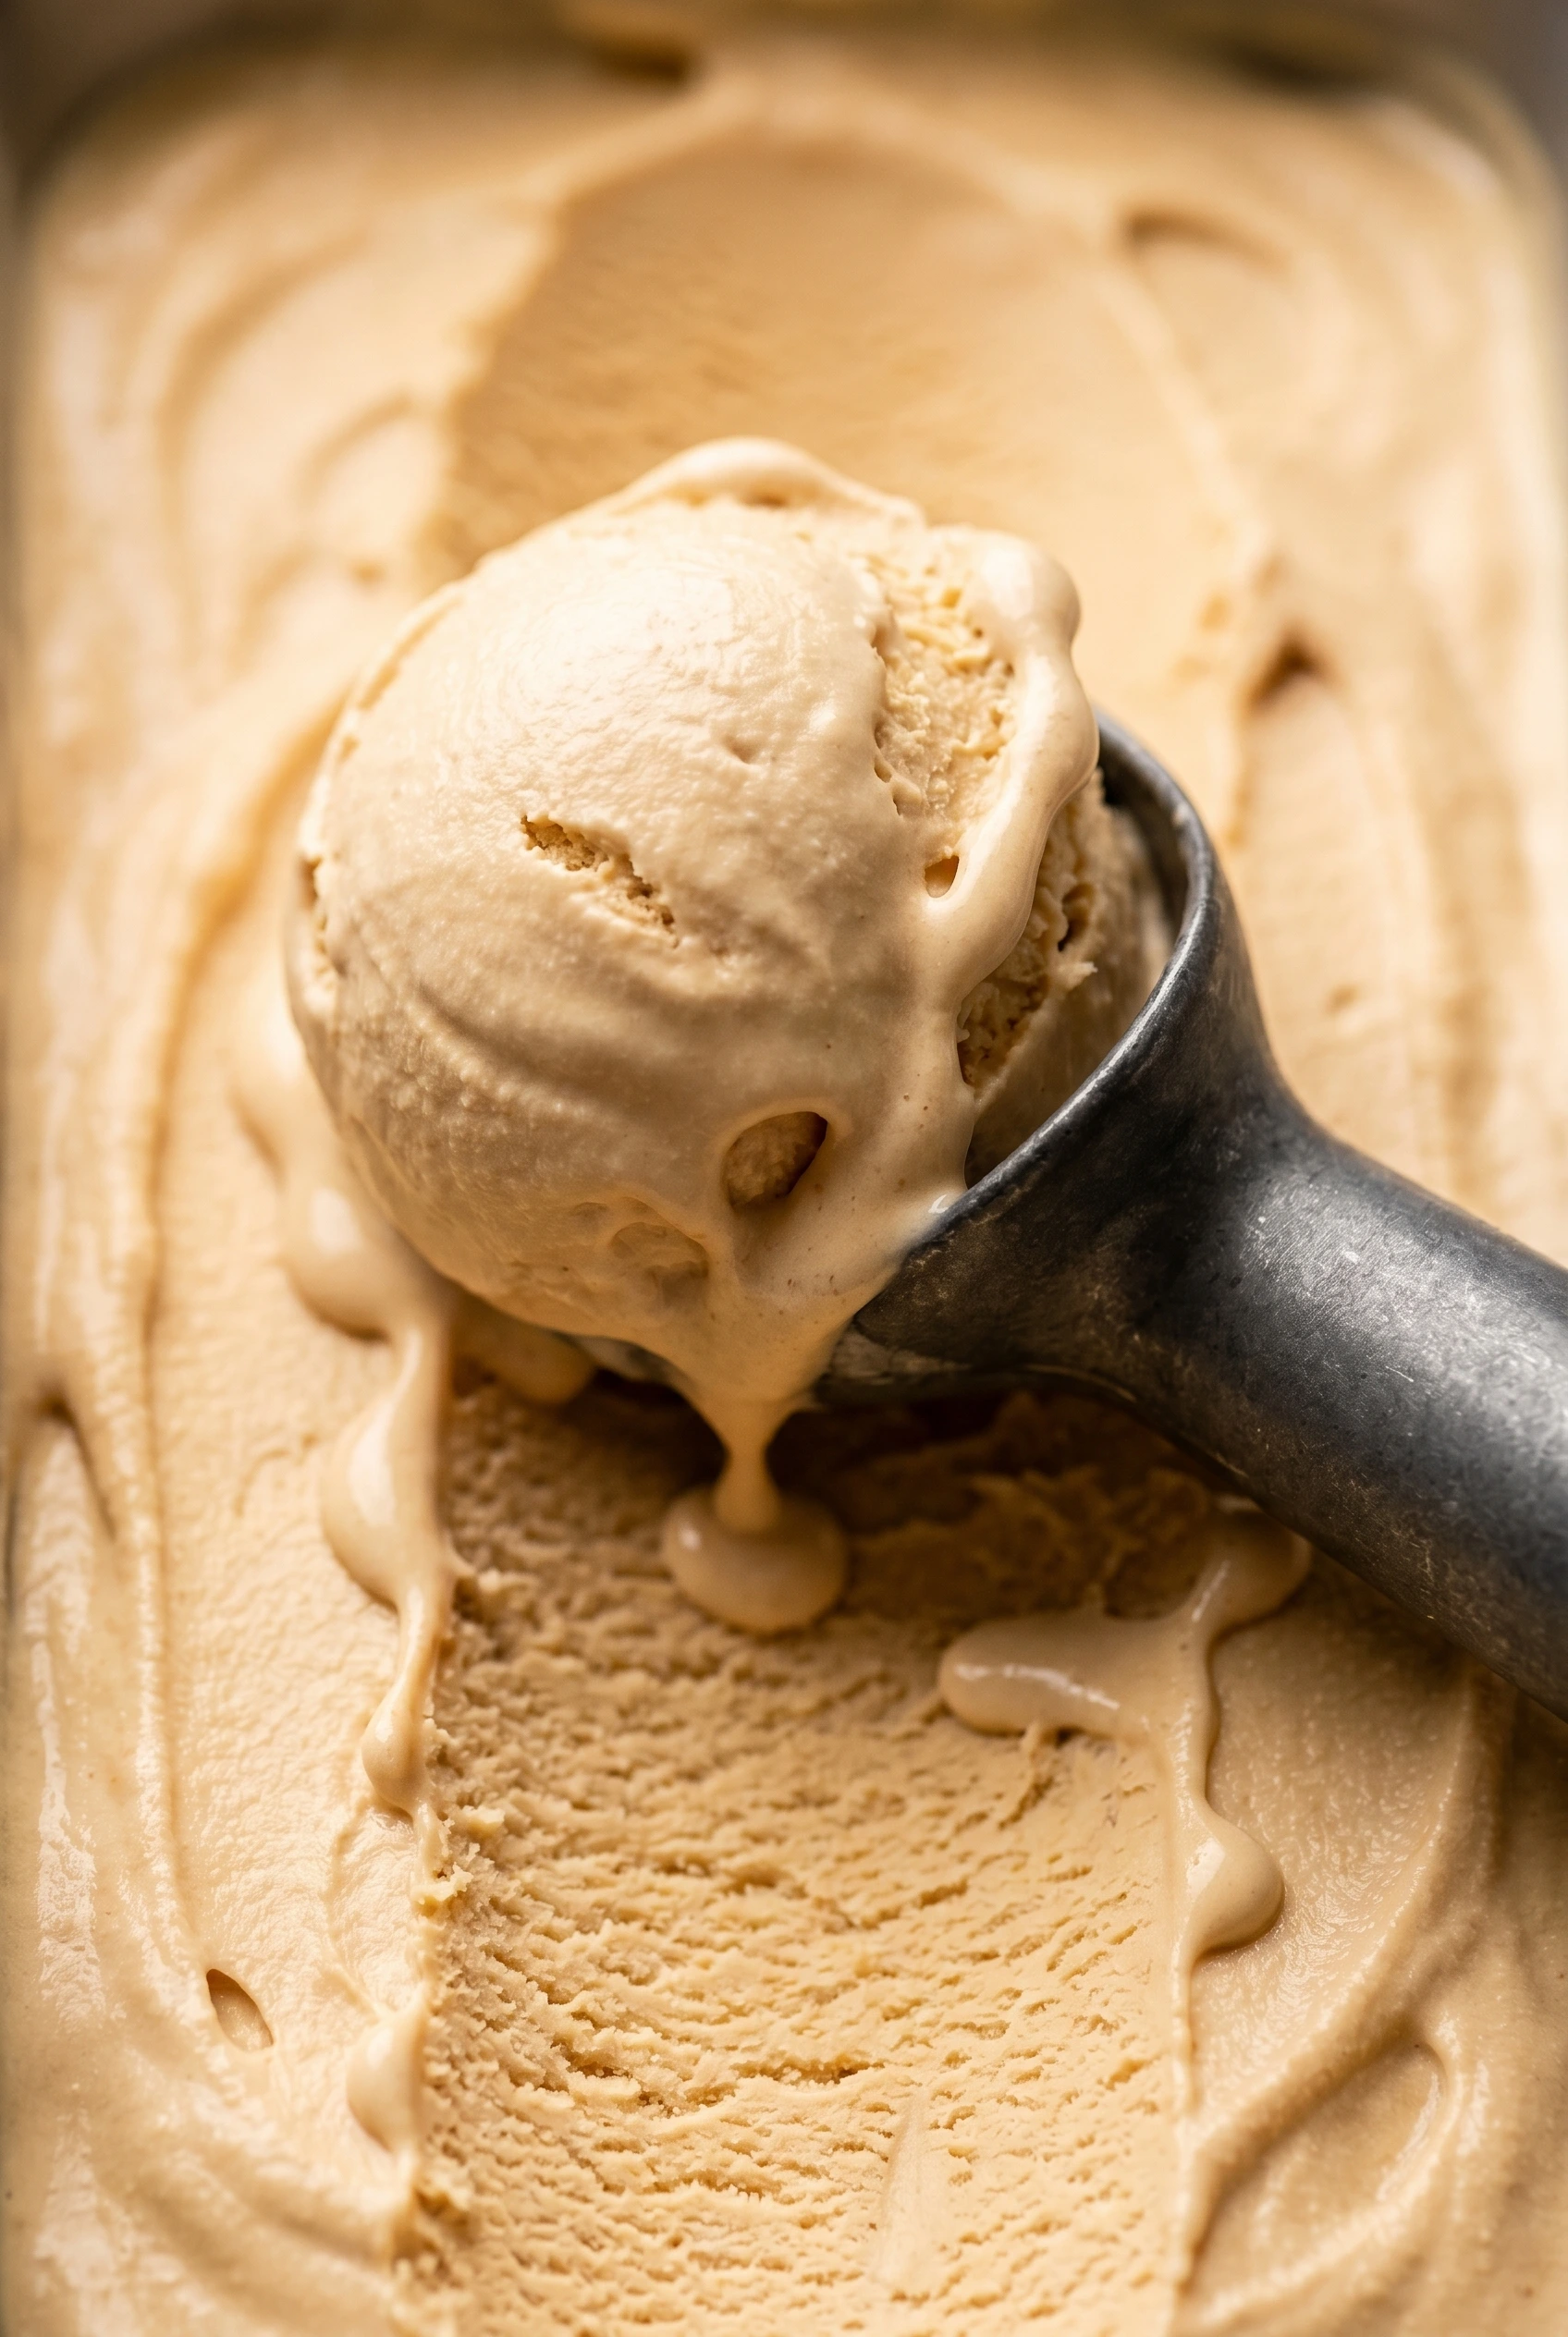
But this homemade salted caramel ice cream recipe is worth every anxious minute of watching sugar melt. The custard base is rich, silky, and scoopable straight from the freezer, and that hit of flaky sea salt at the end turns every single bite into something that tastes genuinely artisanal. Once you learn to trust the process even when the caramel throws its inevitable tantrum you’ll never pay twelve dollars for a scoop again.
Why You’ll Love This Recipe
- It tastes expensive – You get that twelve-dollar artisanal scoop shop flavor, but you get to eat it in your sweatpants.
- The texture is incredibly forgiving – The custard base makes it rich and scoopable straight from the freezer.
- It feels like a magic trick – Watching seized sugar magically melt back into smooth cream will make you feel like a minor kitchen wizard.
- Pantry staples save the day – If you have eggs, dairy, and sugar, you do not need to make a special grocery run.
Tools You’ll Need
Nothing fancy, I promise.
- ice cream machine – You kind of need this, unless you want to spend six hours manually stirring a frozen bowl every twenty minutes, which you definitely do not.
- Heat-resistant spatula – Do not use cheap plastic or you will literally melt it into the caramel. Ask me how I know.
- Fine-mesh sieve – Because nobody wants a rogue piece of scrambled egg yolk in their dessert.
Ingredients
- 1 ¼ cups granulated sugar – Divided, because making caramel requires a little bit of structural planning.
- 2 cups heavy cream – Do not try to swap this for skim milk unless you want a sad, icy block.
- 1 cup whole milk – Balances the cream so it is rich but not overwhelming.
- ⅛ teaspoon fine sea salt – For the base to enhance the caramel flavor.
- 6 large egg yolks – Yes, six. Save the whites for an omelet you will definitely forget to make tomorrow.
- ¼ teaspoon flaky sea salt (such as Maldon) – This is the crunch that turns standard sea salt caramel ice cream into a serious upgrade.
Instructions
Making caramel is like dealing with a toddler do not turn your back on it for a single second.
- Melt the sugar: In a medium pot over medium heat, melt ¾ cup sugar with 3 tablespoons water, swirling the skillet frequently. It will eventually turn a deep mahogany brown, but if it smells like a campfire, you went too far.
- Add the dairy: Add the heavy cream, milk, remaining ½ cup sugar, and the fine salt, then simmer until the caramel melts and the cream mixture is smooth. Warning: When the cold cream hits the hot sugar, it will seize up into a terrifying solid rock—do not panic, just keep simmering and it will melt back down.
- Temper the eggs: Remove the pot from the heat, whisk the yolks in a separate bowl, and slowly whisk about a third of the hot cream into the yolks before returning it all to the pot. This is called tempering, which is just a fancy way of saying “please do not scramble the eggs.”
- Cook the custard: Return the pot to medium-low heat and gently cook until the mixture coats the back of a spoon (about 170 degrees). Patience is key here; rushing it on high heat will give you caramel egg drop soup.
- Strain and chill: Strain through a fine-mesh sieve into a bowl, cool to room temperature, then cover and chill for at least 4 hours. I know waiting is the worst, but a warm base will not churn properly.
- Churn: Churn in an ice cream machine according to the manufacturer’s instructions, sprinkling the flaky sea salt in during the last 2 minutes. You can eat it soft-serve straight from the machine, which I highly recommend for quality control purposes.
♥ The Misfit Tips!
- Keep the heat at medium, not high. Cranking the heat to speed up thickening turns the jam into a sticky, glassy solid bonded to the bottom of your pan. Medium heat and patience produce a spreadable jam. High heat produces candy.
- Use the cold plate test every time. Visual cues for jam doneness are unreliable. The wrinkle test on a frozen plate tells you exactly when the jam hit the gel stage, which saves you from a jar of runny syrup or a brick of overcooked sugar.
- Adjust the sugar to your taste. The recipe uses one full cup for a balanced sweet-tart result. Drop it to half a cup for a more tart, fruit-forward spread. The jam still sets either way since the pectin comes from the fruit.
Troubleshooting Guide
Something went sideways? Been there. Here is how to fix it.
- Problem: My caramel turned into a solid rock when I added the cream.
Why it happened: The temperature shock of cold dairy hitting molten sugar makes it harden instantly.
Fix it: Just keep simmering it on low heat. It will completely dissolve back into the liquid, it just takes a few minutes of faith. - Problem: The ice cream base tastes slightly burnt.
Why it happened: The sugar cooked a few seconds too long before the cream was added.
Fix it: Call it “dark roast caramel” and serve it anyway. Next time, pull it off the heat right when it hits a rich amber color. - Problem: My ice cream is icy instead of creamy.
Why it happened: The base wasn’t chilled long enough before churning, or your freezer bowl wasn’t fully frozen.
Fix it: Let it sit on the counter for 10 minutes before scooping to soften it up, and next time, chill the base overnight.
Perfect Pairings
This sea salt caramel ice cream belongs next to:
- A warm, slightly underbaked brownie that threatens to collapse under the weight of the scoop
- Crushed pretzels folded in right before freezing because salted caramel pretzel ice cream is the ultimate power move
- A slice of warm apple pie on a slow Sunday evening
- A spoon, used standing in front of the open freezer at midnight no shame here
How to Store Ground Cherry Jam
❤
- Fridge. Up to 1 month in a sealed jar. The jam firms up slightly when chilled. Let it sit at room temperature for ten minutes before spreading so it doesn’t tear the toast.
- Freezer. Up to 6 months in freezer-safe jars. Leave at least half an inch of extra headspace so the jam has room to expand without cracking the glass. Thaw overnight in the fridge.
- Canning. Processed jars keep at room temperature for up to one year in a cool, dark pantry. Check each lid for a proper seal before storing. A lid that flexes up and down when pressed didn’t seal correctly and belongs in the fridge.
Salted Caramel Ice Cream
Ingredients
Equipment
Method
- Melt the sugar In a medium heavy-bottomed pot over medium heat, combine ¾ cup sugar with 3 tablespoons water. Swirl the pot frequently do not stir with a spoon, just swirl. The caramelization process begins around 320°F as the sugar molecules break down and develop complex, bitter-sweet flavors. You're aiming for a deep mahogany brown. If it smells like a campfire, you've gone too far.
- Add the dairyCarefully pour in the heavy cream, whole milk, remaining ½ cup sugar, and fine sea salt. Warning: The cold dairy hitting the molten sugar will cause it to instantly seize into a solid, terrifying rock. This is completely normal. Keep the heat on medium-low and keep stirring — it will dissolve back into a smooth, glossy liquid within a few minutes. Trust the process entirely.
- Temper the eggsRemove the pot from the heat. Whisk the 6 egg yolks in a separate bowl. Slowly pour about one-third of the hot caramel cream into the yolks while whisking constantly this is called tempering, and it gently raises the yolks' temperature without scrambling them. Then whisk the warmed yolk mixture back into the main pot.
- Cook the custardReturn the pot to medium-low heat and cook gently, stirring constantly, until the mixture thickens enough to coat the back of a spoon this happens at approximately 170°F (77°C) on an instant-read thermometer. Do not rush this on high heat; you will get caramel-flavored egg drop soup and a great deal of personal regret.
- Strain and chillPour the custard through a fine-mesh sieve into a clean bowl to catch any cooked egg bits. Cool to room temperature, then cover and refrigerate for at least 4 hours overnight is even better. A warm base won't churn properly and produces an icy texture.
- ChurnChurn in your ice cream machine per the manufacturer's instructions. In the last 2 minutes of churning, sprinkle in the flaky sea salt so it distributes evenly without fully dissolving. Eat it immediately as soft-serve for quality control, or transfer to a shallow airtight container and freeze until firm.